Here is a fascinating topic that brings together physics, instrument health, and human physiology. A viewer named Jon, from Houston, wrote a great question about wintry weather and its effects on both pianos and pianists. Having moved from Southern California to Cleveland myself, I can tell you the adjustment to cold climates is significant. Jon asked what happens when a piano sits near a big glass window where a cold air downdraft pours down. How does this affect tuning, the soundboard, the action, and even our ability to listen and play when we’re cold?
The Science Behind Downdrafts
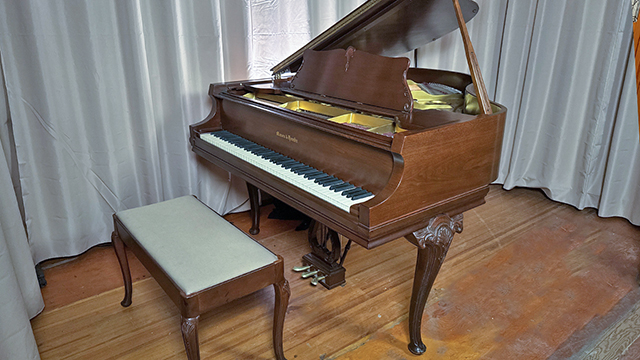
Jon used a keyword: downdraft. Many people love the look of a grand piano in a bay window, but there is real science that explains why this is dangerous. It all comes down to convection. Glass becomes cold during winter. When warm air hits that cold surface, it instantly cools. Cool air is heavier, so it sinks. This creates a continuous convection current, a literal waterfall of cold air cascading over your piano at all hours!
Why Cold Air Damages Pianos
It isn’t just the temperature that does the damage. The real culprit is humidity, or more accurately, the lack of humidity. Cold air cannot hold moisture, so that invisible waterfall is actually a steady stream of extremely dry air. When it hits the soundboard, the wood shrinks. The crown, that subtle arch responsible for projection and tone, begins to flatten. The result is loss of sustain, loss of power, and a deadened tone.
Worse yet, the two sides of the piano experience different environments. The window side becomes cold and dry, while the room side stays warmer and more humid. This uneven exposure can cause the soundboard to warp, throwing the tuning not just flat but chaotically out of alignment.
Effects on the Piano Action
The thousands of moving parts inside a piano are made of wood, felt, and metal. Felt bushings create controlled friction at pivot points, but in the cold they stiffen and harden. This results in sluggish action. You may notice in winter that keys don’t return as quickly and the whole instrument feels resistant. That’s the felt reacting to dry, cold air.
Can Pianists Play Well When They’re Cold?
Cold hands are more than just uncomfortable. When we’re cold, our bodies conserve heat by sending blood to the core, leaving our hands with reduced circulation. The small interosseous muscles between the fingers stiffen, and the synovial fluid that lubricates the joints becomes thicker. This increases internal friction in the knuckles, making fast or intricate playing physically impossible. And if you’re shivering, your concentration and critical listening ability suffer too.
Protecting Your Piano and Your Hands
Heavy drapes or thermal curtains can help reduce cold drafts, but the best solution is to move the piano away from the window. Don’t let a beautiful view compromise the health and tone of your instrument!
For your hands, a simple and effective strategy is to run them under warm water before practicing. Not hot, just warm enough to promote circulation and help the synovial fluid flow freely. This small step can make a tremendous difference.
Thanks for the great question, Jon! Keep your pianos warm and properly humidified, and keep yourselves warm as well. Your piano and your playing will both benefit.
I hope this is helpful for you! Share your thoughts in the comments here at LivingPianos.com, Your Online Piano Resource and on YouTube.