Welcome to LivingPianos.com, I’m Robert Estrin. The subject today is about how to get better at playing the piano. There are so many things you can do! Of course, everyone would say, “Practice!” That’s obvious. How to practice is a whole other subject for another video. I know people who practice incessantly and don’t get anywhere, because how you practice is key. But as I said, that’s a whole other discussion. Today we’re going to talk about other things aside from practicing, which is the obvious thing.
Immerse yourself in music!
Listen to music on recordings and go to concerts. If you have friends who love music, or better yet, friends who are musicians, talk with them! Read books about music, watch films about musicians and music. Watch videos of various concerts or musicals. Total immersion makes all the difference in the world!
Play piano every day.
You should play the piano every day, unless you absolutely can’t because you’re on vacation or you’re really sick in bed. Practicing every day, of course, is great, but simply playing every day makes such a huge difference in how you progress on the instrument. Naturally, if you also practice every day, and you practice effectively, that’s awesome!
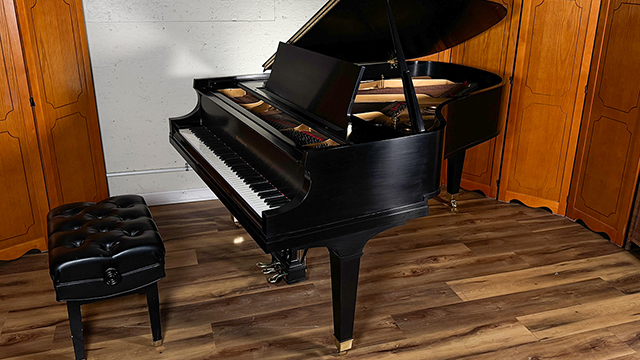
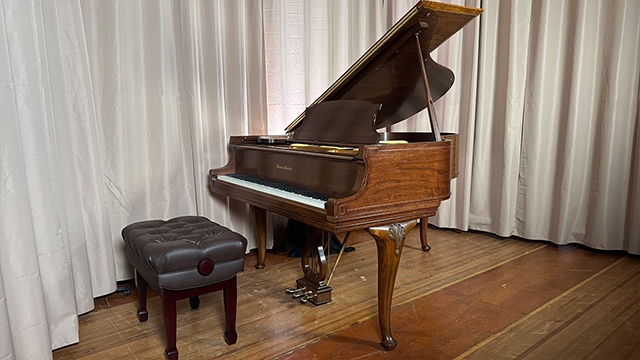
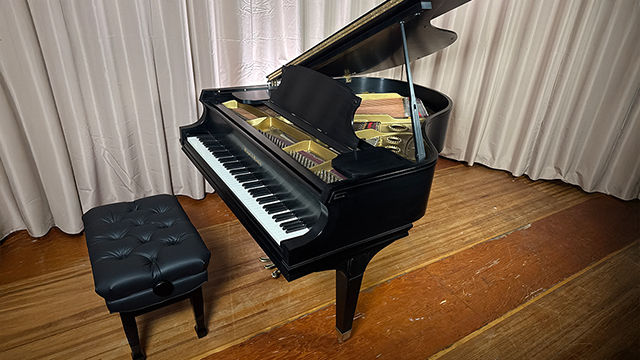
Play on high level instruments.
Another thing you can do to help you become a better pianist is to play on fine pianos whenever there’s an opportunity. I remember when I was at music conservatory, I would always sneak in anywhere I could where there was a concert grand. I shamefully admit, I used my ID late at night to break into some of the teaching studios to play on really well prepped Steinways. I used to go down to the pit of the musical arts center. There was a concert grand there. I used to climb down there. I probably shouldn’t have been doing that because it wasn’t meant to go down there, but I did. Of course I’d get kicked out. But if I could get even 10 minutes on an instrument like that, it was worth it. So anytime you can play on a fine piano, it makes a world of difference in what you’ll learn. Play on any fine piano and you’ll have a clear idea of what you’re after and what’s possible in your music.
Find a great teacher.
Of course, having a great teacher can be a godsend in getting better at playing the piano. A teacher can not only improve your playing by showing you how to approach different sections of music and assigning appropriate material, but a teacher also can guide your practice and show you exactly what you should be doing day after day in your daily work to maximize the effectiveness and the productivity of your placticing. So if you’re not getting it from your teacher currently, seek out a teacher who shows you what to do. If you get home after a lesson thinking, “Oh, that was great. Now, what do I do?” Then that’s not the right teacher. You should be filled with more than a week’s worth of work and know exactly step by step how to approach it if you have the right teacher.
Play for as many people as you can.
Another thing that’s really great is simply playing for people. You can practice and practice and practice, but as soon as you play for somebody, it feels different, doesn’t it? I’m sure you all relate to that, because practicing and performing are not the same thing. When you play for people, that is the moment of creation. When you’re practicing, you’re just preparing for that moment, but you’re not really experiencing the performance. Even if you’re just playing for friends or family members, it is a different experience. You will grow tremendously from playing for people on a regular basis. Start off with people who are supportive and loving, who don’t mind if you mess up. But make it a performance. Don’t stop. Play all the way through for better or worse so you get used to recovering. So when you’re in an actual performance, you’ll know how to deal with situations of stress because you’ve practiced in a low stress situation with people who will forgive you.
Play music with other people.
If you have any musician friends, play with them! Playing with musicians, particularly musicians who are more advanced than you, is an amazing experience for growth. You will learn so much playing with fine musicians. The sense of balance, rhythm, the nuance of rubato in romantic period music. You’ll learn tremendous amounts playing with other musicians. Any opportunity you have to play with people, even if they aren’t better than you, you will learn something from it – especially as a pianist! We play alone so much of the time that if you have any opportunity to play with other people, whether it’s accompanying them or even jamming in an informal gathering, you will learn something. I promise you.
Sing!
On the piano, you can play a note without hearing it first. When you are singing, that’s impossible. On many instruments, just to be able to get the notes to come out, you have to hear them in your head first. For example, I also play the French horn. French horn has so many different notes you can get on the open horn that you have to hear the notes first to successfully produce them. By singing, you’ll learn your music better and you’ll gain a connection between the keys you’re pushing with your fingers and the sounds they create. You’ll develop your ears. You’ll be better at improvising and playing different styles of music. It will also help you to recover from the inevitable finger slip or memory issues in performance from singing your music and developing your ear.
So those are all different things you can do. And guess what? They’re all fun and enriching! As long as you love the piano, you’ll want to do these things anyway. Try them out for yourself! Thanks so much for joining me. I’m Robert Estrin here at LivingPianos.com, Your Online Piano Resource.
For premium videos and exclusive content, you can join my Living Pianos Patreon channel! www.Patreon.com/RobertEstrin
Contact me if you are interested in private lessons. I have many resources for you! Robert@LivingPianos.com