Welcome to the first in our three part series on technology’s impact on music. There are going to be people with very strong emotions on both sides of this discussion and I’m going to do my best to provide a neutral presentation. Today we are going to discuss the impact that technology has had on art and music.
It’s simple to point to current technologies and see how they have impacted musicians and music as a whole. Where there used to be live bands we now have DJs and sound systems – which in certain circumstances has put musicians out of work. Electronic music has been popular for decades and some people might not even consider some of it to be music in instances where there are no actual performances – just recordings. As we delve into the controversy between technology and music you can envision the arguments of each side start to form.
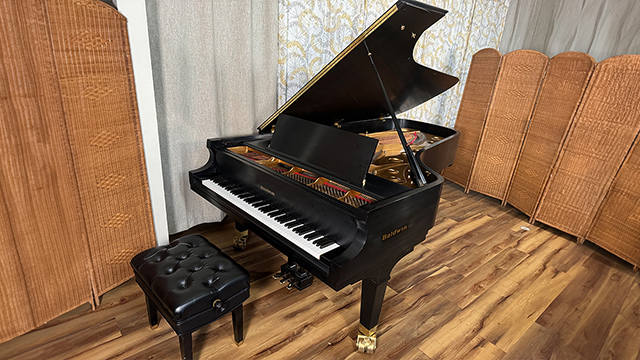
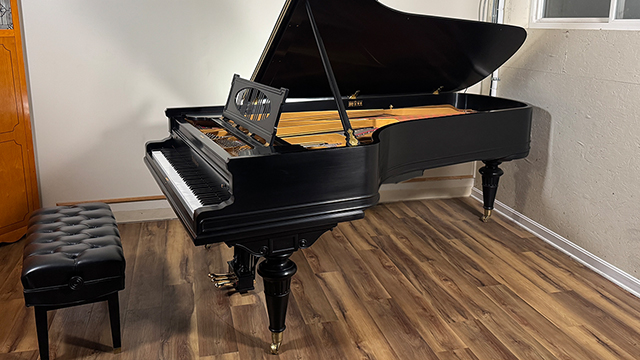
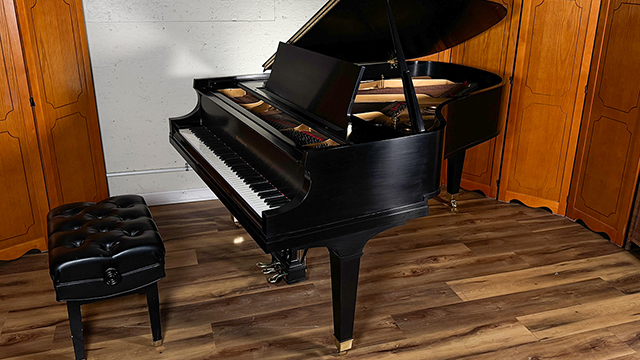
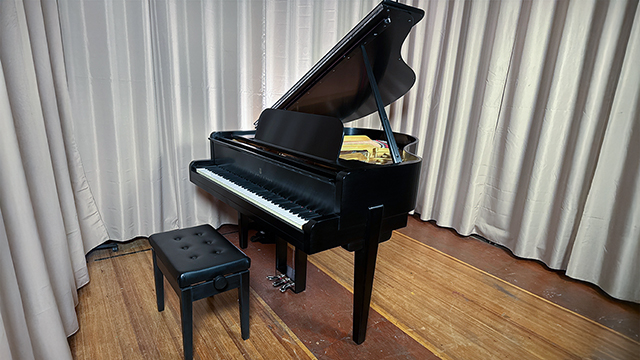
Let’s take a moment and put ourselves at the time before the piano existed and even before the harpsichord came to be. There was a point in time when these were considered new inventions and something that would change music – either for the better or for the worse depending on who you asked. We could go all the way back to the origins of music – the human voice – and probably find conflicting opinions as new instruments were slowly integrated into music; there was probably never a time without controversy.
Societies eventually move on and the technologies of each age will inevitably replace the technologies of old and it will have an impact on art. Take a look at the architecture of today and compare it to the architecture of a thousands years ago, or 100 years ago; the differences are striking. Some people will revere the older styles of art and architecture while others will embrace the new – but this phenomenon is timeless.
When it comes to art, it’s ultimately about the people making music, not just the technology utilized. The inventions and instruments are merely the tools employed by the artists – what they create is a product of their environment and the tools available to them. You might not personally enjoy the work that an artist creates with newer tools, but you shouldn’t discount the tools they use – they are merely vehicles of expression.
There can be a level of resentment from people who studied their whole lives to be skilled in particular instruments that are upstaged by people using newer technologies to replicate what they do in new ways.
The best thing we can do is simply create the music we want in the ways we are familiar with. There will always be audiences for great music – no matter what tools are used to create it. Reaching people and creating a sense of emotion is the goal of art and no particular method will limit you from doing this.
I would love to hear everyone’s opinions on this topic. Please contact us directly if you have any questions or comments about this subject or any musical subject at all: Info@LivingPianos.com (949) 244-3729