Welcome to LivingPianos.com, I’m Robert Estrin. Today’s subject is about why you must play on more than one piano. I am very fortunate because I’m always surrounded by pianos. As a matter of fact, when I was born, there was a piano in my bedroom, and my father had two pianos upstairs as well! We had four pianos in our house most of the time when I was growing up.
There was a time when I was first married that we had 27 pianos in our house!
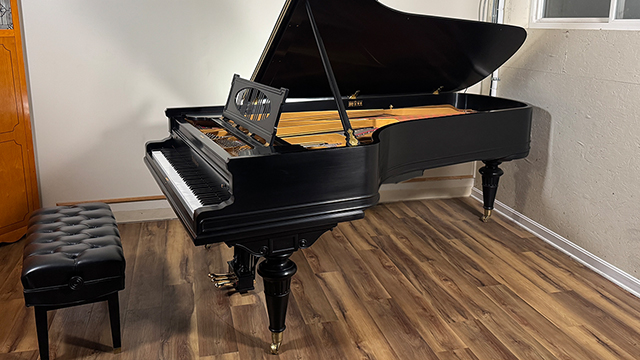
I was teaching piano, and oftentimes, prospective students didn’t have pianos. This was before the days when you could buy a fairly inexpensive digital piano that would be serviceable for a beginning student. So I made it my business to have lots of inexpensive pianos around. I’ve been surrounded by pianos my entire life! Now with Living Pianos, I have a concert grand Steinway, a six-foot two-inch Steinway, a Mason and Hamlin grand, a Knabe grand, and I have a Chickering baby grand upstairs to name a few. I am loaded with pianos! But what about you?
How can you play more than one piano, and why should you?
Why is this so important? My wife is a flutist. My daughter is a violinist. So, like most instrumentalists, they can take their instruments with them wherever they go. So it’s no surprise when they show up for performances. The acoustics may offer challenges they’re not used to, but at least they have their own instruments with them. As pianists, we don’t have that luxury unless you’re only playing for yourself, by yourself in the same place all the time. If you never want to play for anybody else or with anybody else, then maybe you don’t need to play on more than one piano. But for most of us, you want to be able to play at school, at church, at friends’ houses, maybe you even play occasional concerts.
When you sit down at a piano you haven’t played before, everything feels different.
The pedals respond differently. The touch is different. The tone is different. The only way you can really learn to overcome that is by playing other pianos. Naturally, if you’re playing a concert, you want to have a chance to try out the piano beforehand, if at all possible. Sadly, a lot of times it’s not possible. You get to the hall, maybe a few minutes before and there’s noise. Maybe they’re vacuuming. You never get a chance to really try out the piano. And I’ve got new news for you. Even if you get the opportunity to play a piano in a hall before a performance, once people come into the room, it changes the acoustics and it can feel markedly different!
How can you play different pianos?
You can try to go to piano stores, although piano stores are not there for that purpose. You might not be welcome just to play pianos there. But some stores might allow you to play their pianos if you ask them very nicely. If you’re in the market for a piano, of course, they will welcome you to try different pianos. But I would never suggest that you pretend you’re looking for a piano and waste their time because they’re very busy and have work to do. You don’t want to take their precious time away from their job. Oftentimes, schools have multiple pianos, If you can figure out how to get in and play those pianos. Maybe at your own school or church or some other place, you can find a piano to play. If you’re on vacation and you’re jonesing for a piano, you might scope out the bar to see if there’s a piano there, or maybe tucked away in a corner outside of the convention rooms. I always make a beeline for these pianos when I’m on vacation!
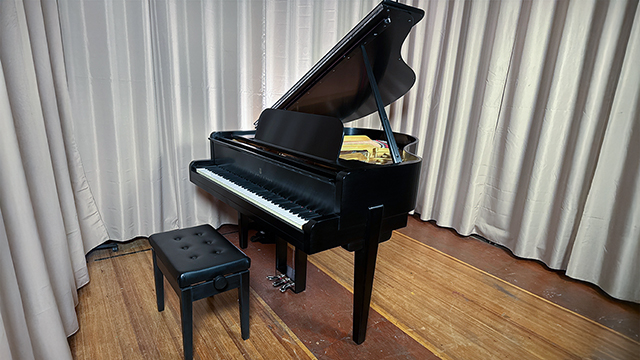
There are many different places you can try out pianos. It’s really important. The way the tone develops, for example, in the bass on a larger grand is so different from that of a spinet or a console piano. If you’re playing on digital pianos all the time, you don’t even have anything close to the feel of a grand piano. So it’s vitally important if you want to be able to adjust to pianos you encounter.
Is that the only benefit? Far from it!
You will learn so much about your playing, about your technique when you play other instruments. You may discover that a problem you thought you had in your playing is actually your piano! Maybe your piano doesn’t repeat fast enough. Maybe the regulation isn’t great. Maybe the tone of your piano is lacking in one area or another and you’re constantly overcompensating.
When you play other instruments, you realize how individual your piano is, because every single piano is different.
In fact, even brand new pianos of the same make and model are markedly different from one another. Each instrument is its own work of art. So try to play on different pianos any opportunity you get. You will grow as a pianist and a musician, discovering new possibilities of tone and phrasing, and finding new technical solutions on different actions. Try it out. Let me know how it works for you! Thanks again for joining me, Robert Estrin here at LivingPianos.com, Your Online Piano Resource.
For premium videos and exclusive content, you can join my Living Pianos Patreon channel! www.Patreon.com/RobertEstrin
Contact me if you are interested in private lessons. I have many resources for you! Robert@LivingPianos.com