Welcome to another part in my ongoing series featuring tips for Schumann’s iconic “Scenes from Childhood”. In part 1 of the series I talked about how this collection of pieces is a perfect choice of repertoire for intermediate to advanced students. Each piece has a distinct sound and feels to it so it gives students a wide range of music to learn as well as experience great composition.
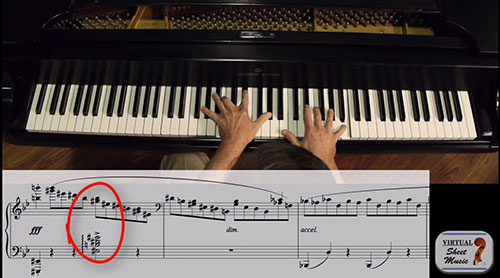
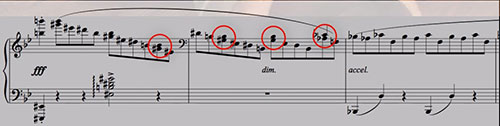
Today I will be showing some tips for “Traumerei” which is a very classic piece of piano repertoire but also very elusive. This piece can really be overlooked by many students who don’t really understand the music in its full sense. There is a beautiful melody but it can be very difficult to know when to pedal. There is also a certain amount of freedom to how you can approach the piece as well.
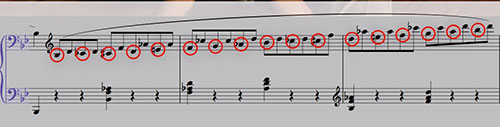
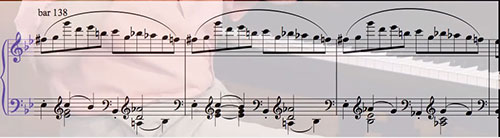
Even though the piece requires the pedal, it’s always best to practice without the pedal. You should ideally be able to connect as much as possible together with only your hands before employing any pedaling. This is not an easy task and you will find it’s incredibly difficult to string much together with just your hands but this will help you understand where the pedal is actually needed.
The key to this piece is to bring out the singing melody – almost as if it were a vocal part. Every note should be smooth and distinct. By connecting as many notes as you can with your hands will allow you to get the desired effect – then adding the pedal will enhance the music.
The piece has a real ethereal quality to it. The piece has a very interesting composition and it really takes a mature student to grasp many of the finer aspects of the music. You should really do yourself a favor and watch various performances and listen to various recordings of this piece. It’s incredible to see how different performances can be for such a seemingly simple piece of music.
Thanks again for joining me Robert Estrin Robert@LivingPianos.com